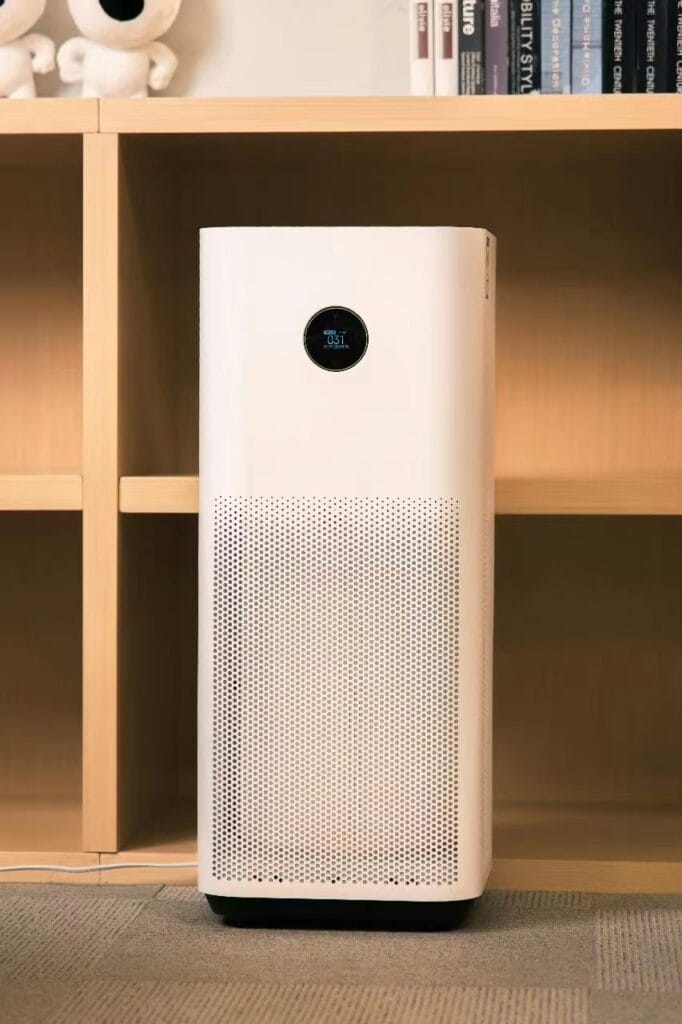
Maintaining clean and fresh air in your home is essential, and if you own a Xiaomi air purifier, keeping its filter clean is a key part of that process. Changing the filter of your Xiaomi air purifier is a simple task that you can do on your own. Regular replacement of the air filter will ensure your purifier operates at optimal efficiency and provides the cleanest air possible. Follow this step-by-step guide to change the filter in your Xiaomi air purifier correctly.
Steps
Step 1: Choose the Right Filter
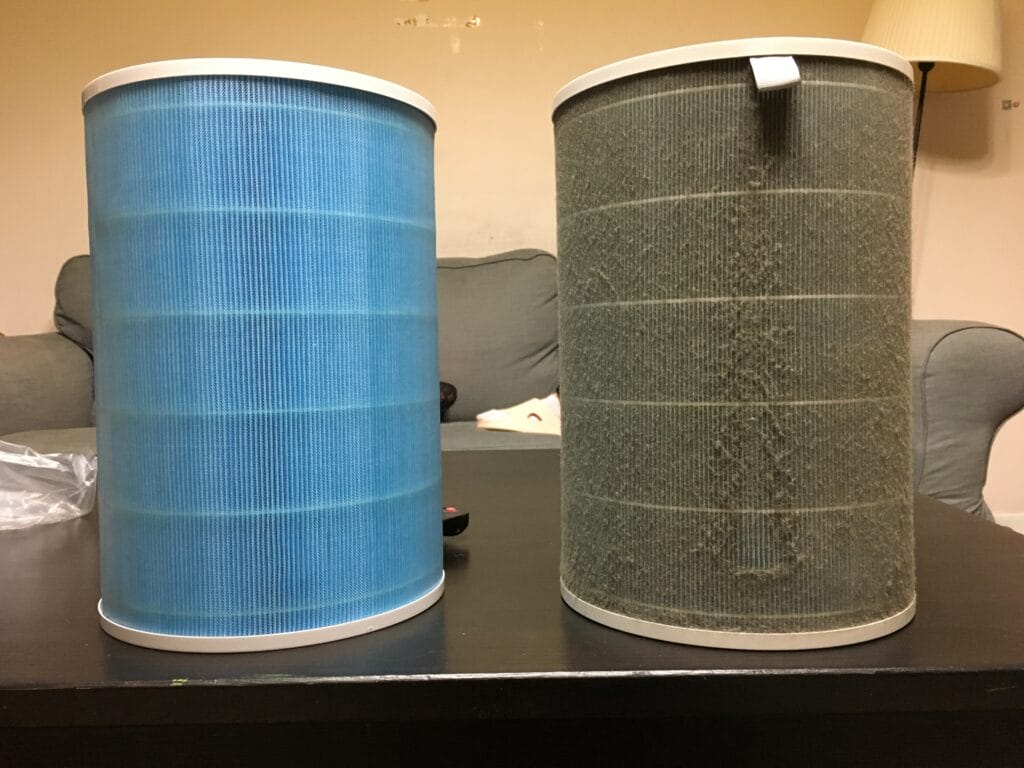
Before you begin, make sure you have the correct replacement filter. Xiaomi air purifiers typically use three types of filters: the Blue filter for general use, the Green filter for enhanced absorption, and the Purple filter for anti-bacterial properties. Check your user manual to confirm the filter type recommended for your model or your specific air quality needs.
Step 2: Power Off the Device
Safety first! Always turn off and unplug your air purifier before attempting to replace the filter. This prevents any electrical hazards and also resets the filter change indicator (if available) once a new filter is installed.
Step 3: Open the Purifier Cover
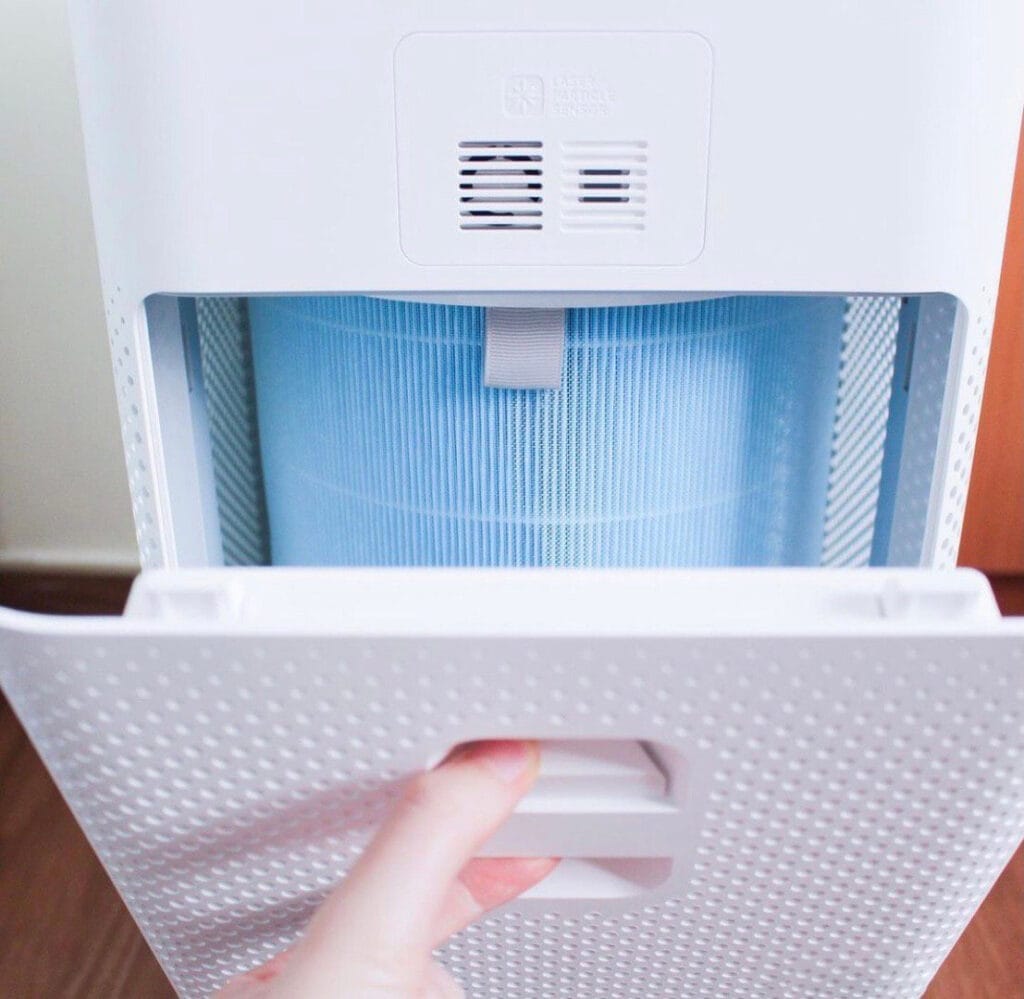
Most Xiaomi air purifier models have a rear cover that you need to open to access the filter:
- For models like Mi Air Purifier 3H, press the buttons on both sides of the purifier and gently pull the back cover off.
- For other models, the cover might simply lift up or slide out after releasing a latch.
Step 4: Remove the Old Filter
With the cover off, you will see the old filter. Pull it out gently but firmly. Some models have a handle on the filter making this particularly straightforward. Dispose of the old filter according to your local regulations—many air purifier filters need to be disposed of in specific ways due to the materials they contain.
Step 5: Clean the Inside
Once the old filter is out, take a moment to wipe down the inside of the purifier. Use a dry or slightly damp cloth to remove any dust or debris to ensure the new filter fits perfectly and to maintain the unit’s efficiency.
Step 6: Insert the New Filter
Remove the new filter from its packaging. Make sure to check that it’s facing the right direction—most filters will have arrows indicating the correct orientation. Slide the new filter into place where the old one was located. It should fit snugly without any gaps.
Step 7: Replace the Cover
Put the back cover back on. It should click into place, signaling that it’s secured. Make sure the cover is properly aligned and secure, as an improper installation can affect the efficiency of your air purifier.
Step 8: Power On and Reset Filter Indicator
Plug in and turn on your air purifier. If your model has a filter replacement indicator, refer to the user manual to reset it. This typically involves holding down a particular button for a few seconds. Resetting the indicator will help you keep track of when the next filter change should occur.
Step 9: Monitor and Maintain
Now that your filter is replaced, monitor the air purifier’s performance. Initially, check the air output to ensure that there is no obstruction and that the air flows freely. Going forward, replace the filter according to the manufacturer’s recommendations, which is typically every 6 to 12 months depending on usage and air quality.
Summaryı with AI
Changing the filter on your Xiaomi air purifier is an easy but important task that helps maintain air quality in your home. By following these simple steps, you can ensure that your device continues to operate effectively, keeping your indoor air clean and healthy. Regular maintenance not only prolongs the life of the air purifier but also ensures that it works efficiently, saving you time and energy in the long run.

 Burak Mete Erdoğan



Choose Houston Shuttle Service for affordable and timely airport shuttles to IAH and Hobby Airport, ensuring a stress-free journey throughout Houston.