Magisk is one of the most powerful tools made for Android to root and hide root or to install modular applications to boost performance and functionality. The interface is system-less, which means modifications and customizations can be done to devices without tampering with the system partition. In our tutorial, we show how to install Magisk—the two primary methods are boot image patching and TWRP recovery flashing.
Prerequisites
Make sure that you have the following prerequisites before you go ahead and set up Magisk on an Android device:
- Unlocked Bootloader: Bootloader, in your device has to be unlocked to make the changes feasible to the boot partition.
- ADB and Fastboot Tools: This is needed for patching the boot image. The tools can be downloaded at Google’s developer site.
- Custom Recovery (TWRP): Custom recovery needs to be installed to flash TWRP.
- Data Backup: Ensure your critical data is backed up well before modifying the system.
Method 1: Install Magisk by Patching the Boot Image
This consists of patching your device’s original boot image with Magisk and flashing the resulting patched boot using fast boot.
Step 1: Boot Image Preperation
- Extract Boot Image: Obtain the boot image that matches your phone. This image is most commonly found in the stock firmware files, or you can use a firmware extractor tool to obtain one. To get stock firmwares, visit our HyperOS Downloader page.
- Transfer the Boot Image: Transfer the created boot image (
boot.img) to the internal storage of your device.
Step 2: Patch Boot Image with Magisk
- Get Magisk Manager Application on your device from here.
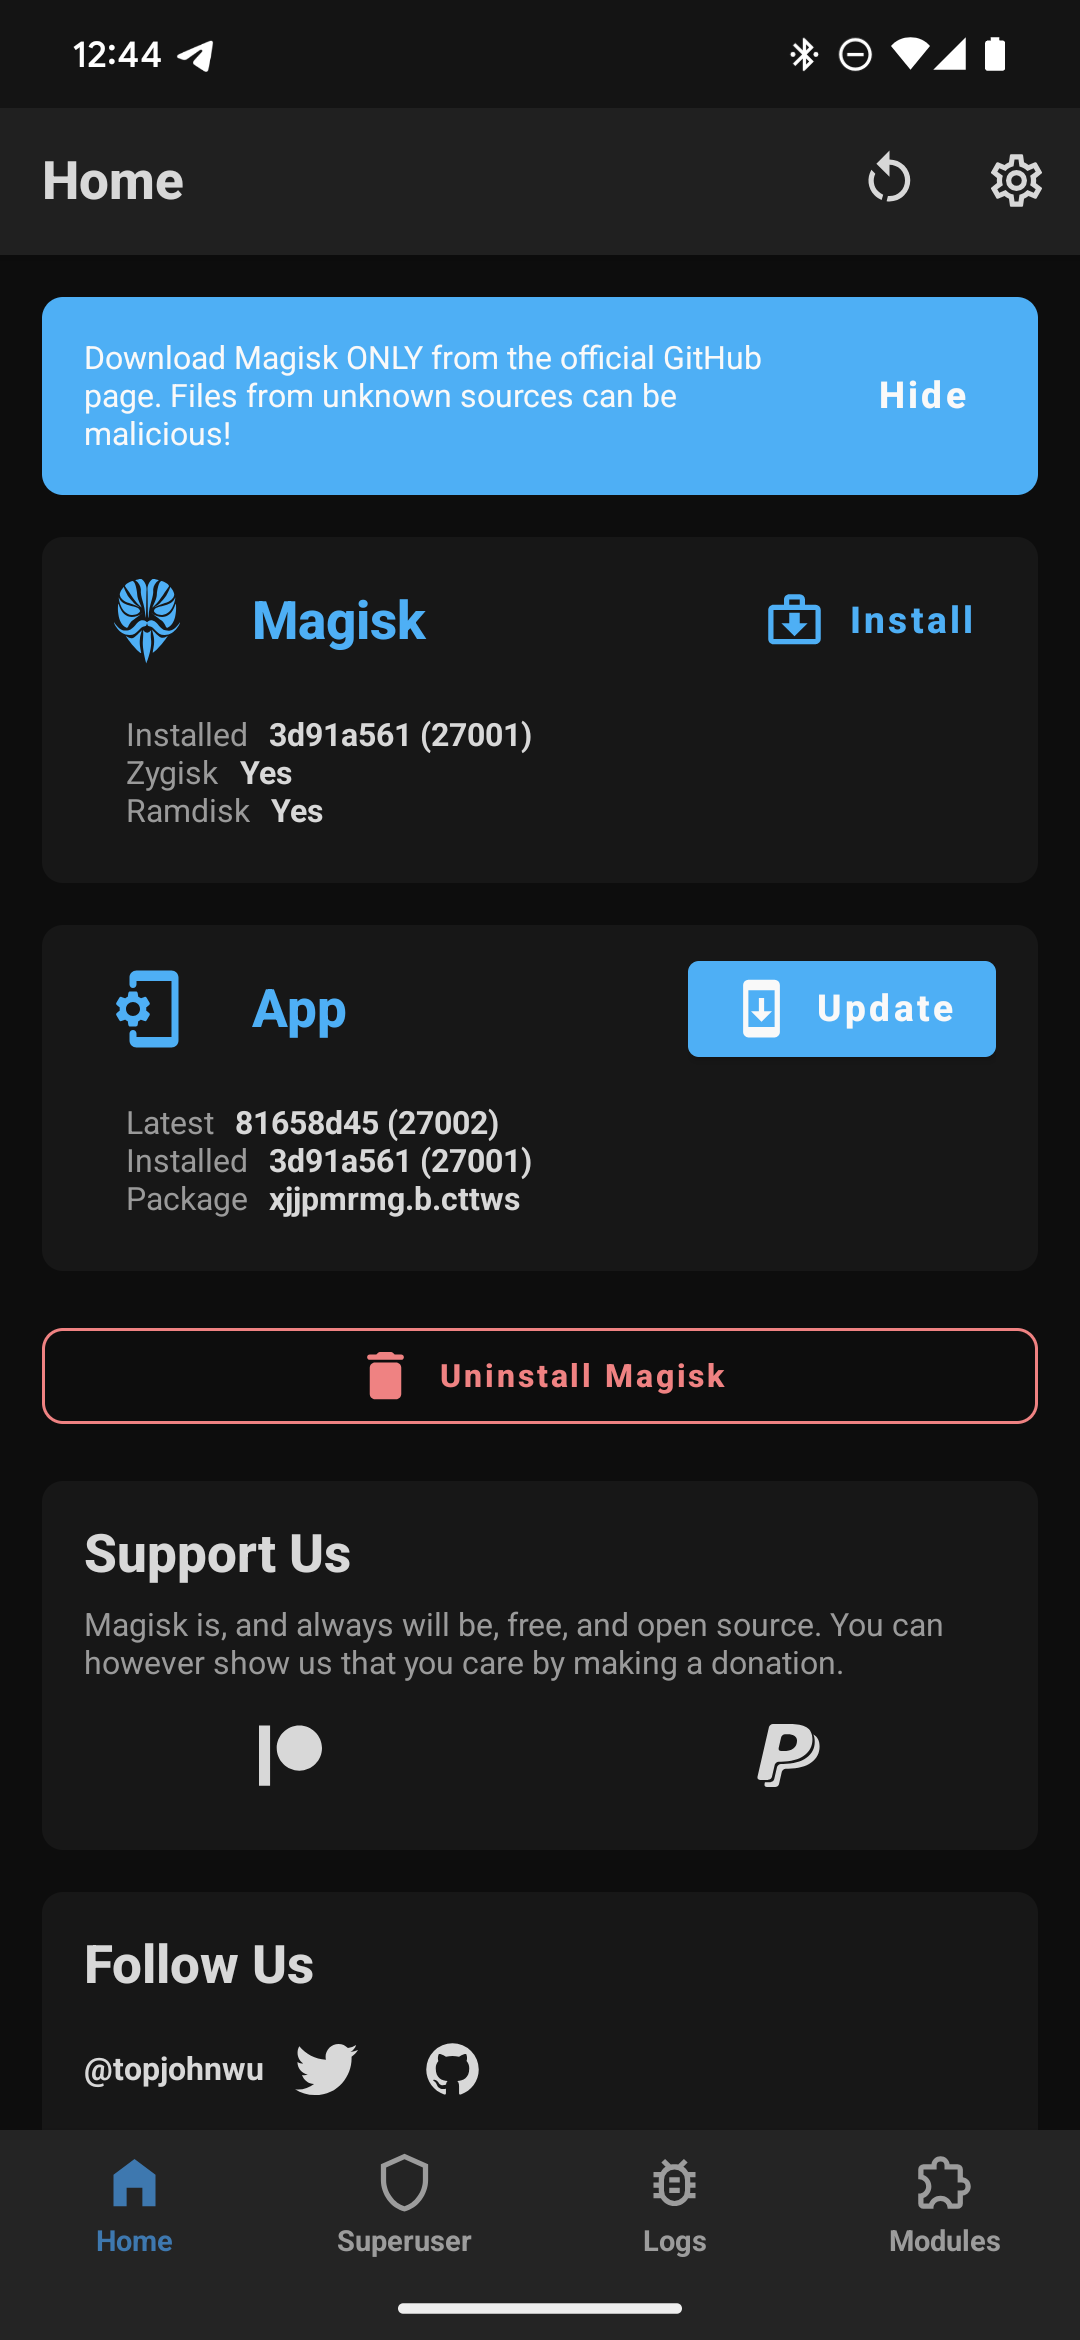
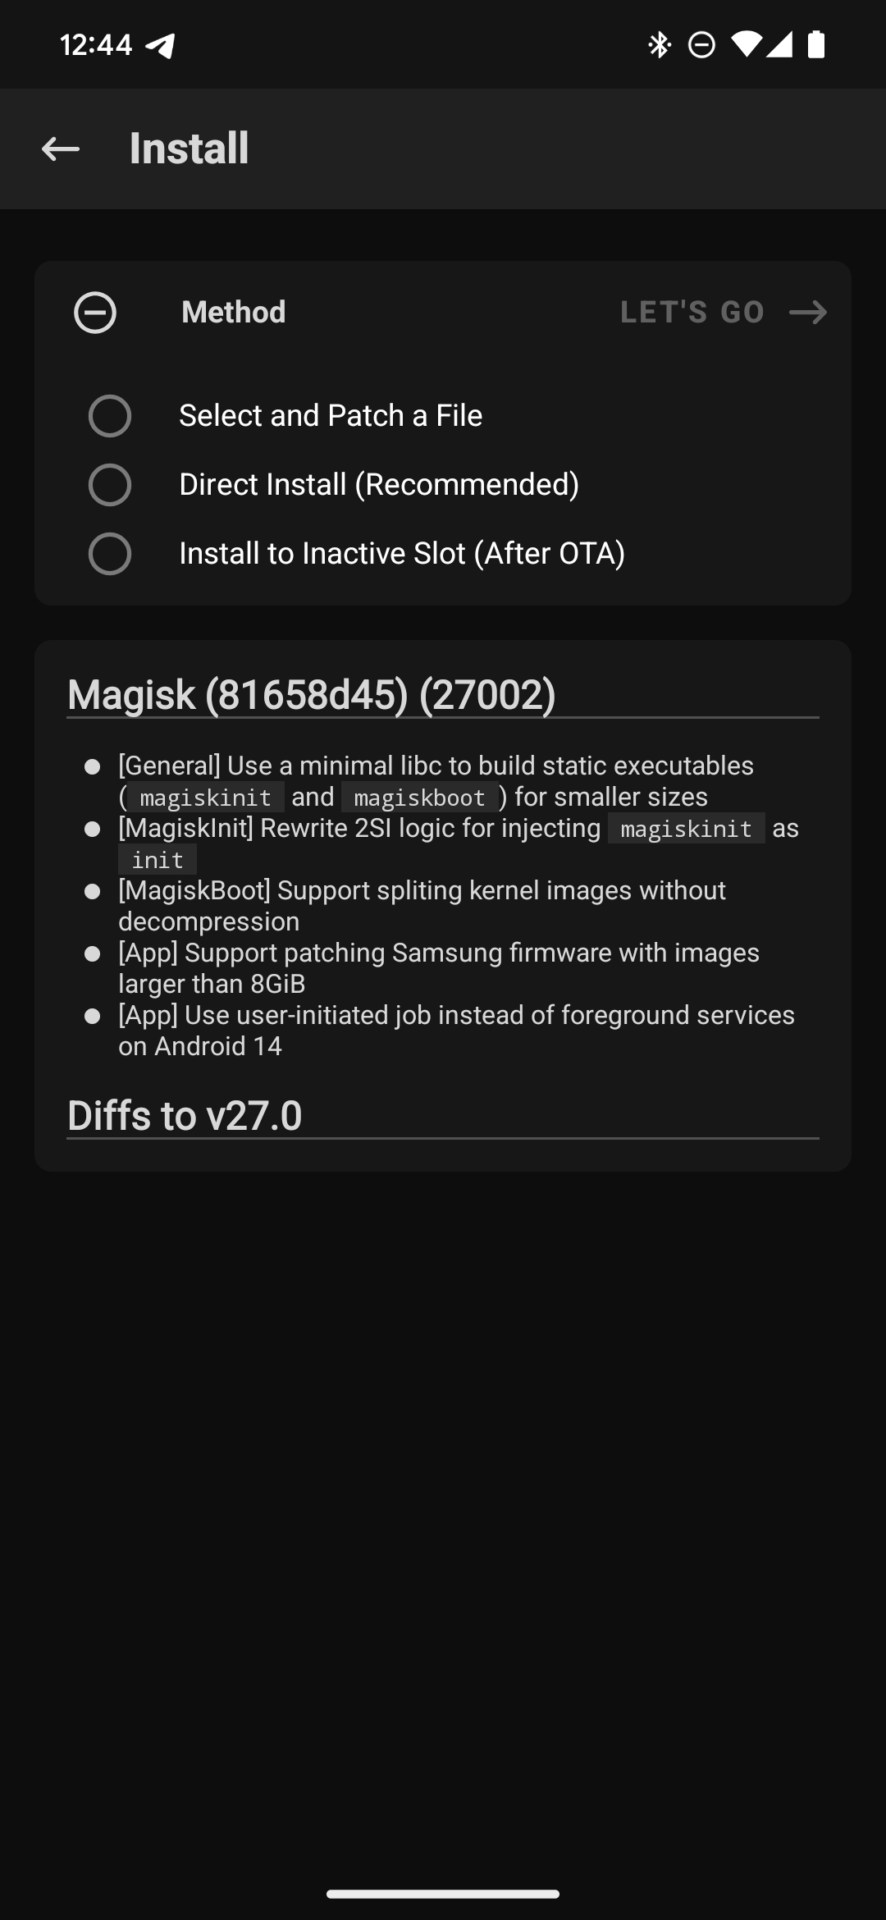
- Open Magisk Manager and click on Install at the bottom of Magisk.
- Click Select and Patch a File in the “Method” end section.
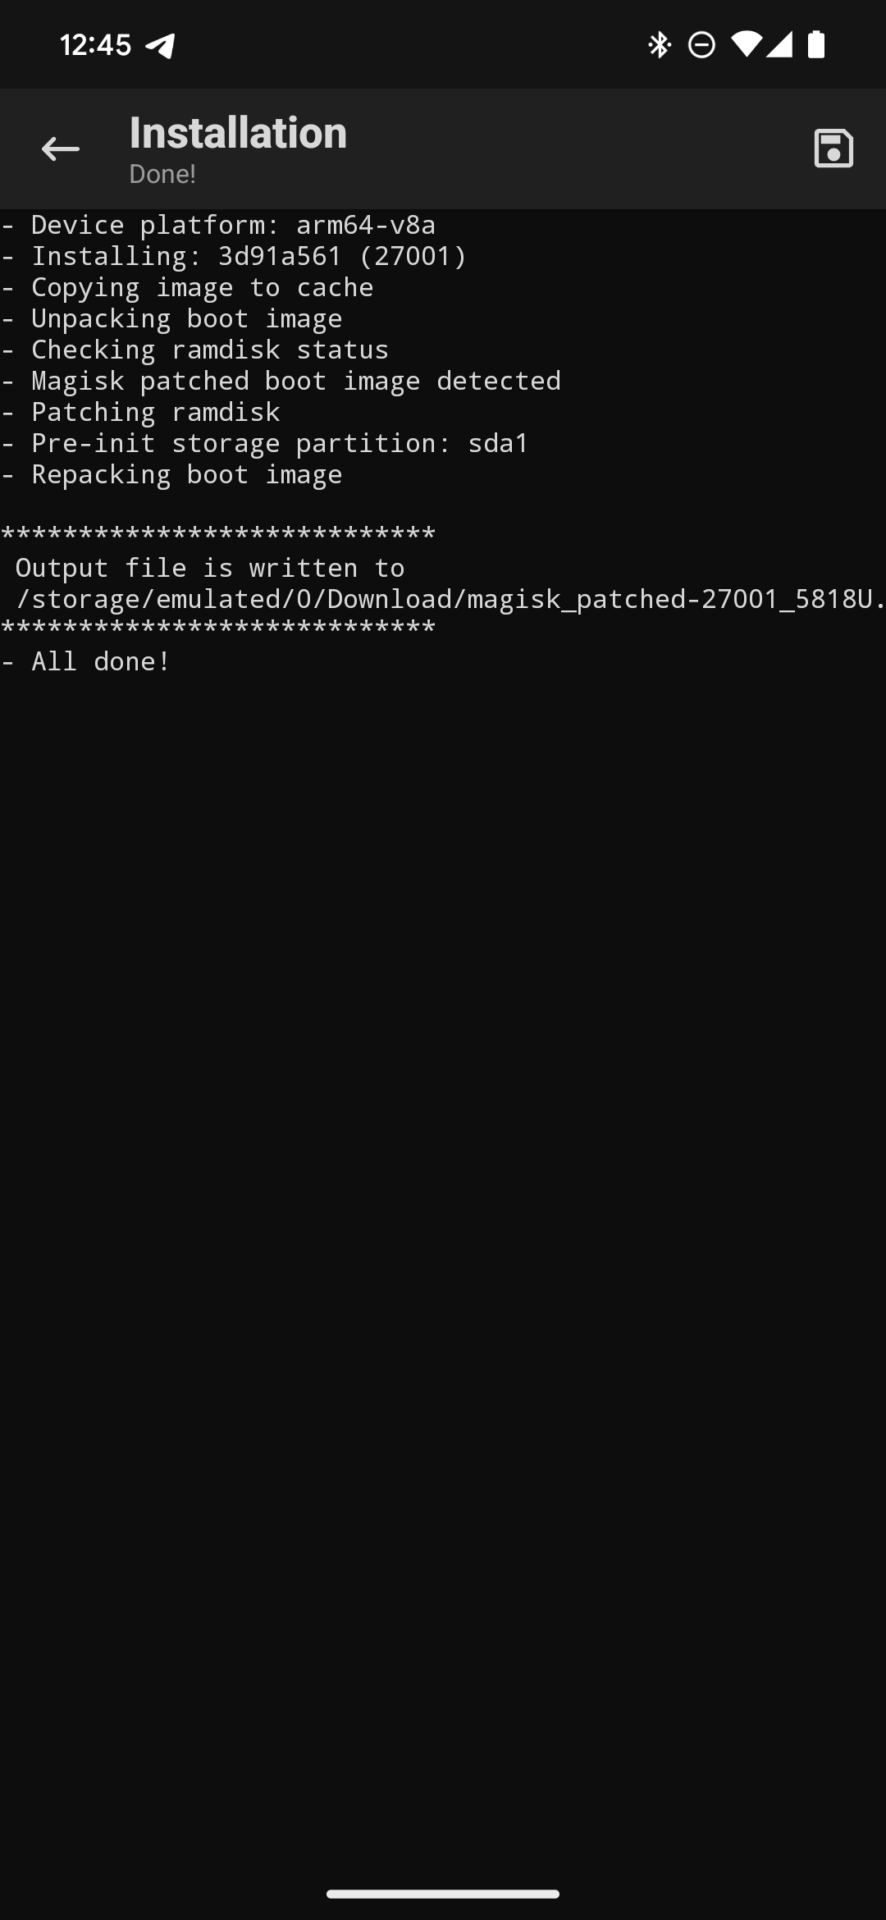
- Browse to your ‘boot.img’ location and select. Magisk Manager will patch the boot image. Once done, your Downloads folder will have the patched file named
magisk_patched.img.
Step 3: Flash the Patched Boot Image
- Transfer the Patched Image to Your PC: Connect your device to your PC, and copy the file
magisk_patched.imgfrom the Downloads folder to your PC. - Power off your device. Press the respective key combination for your device to enter fastboot mode (Volume Down + Power buttons).
- Open a command prompt or terminal window in the directory residing your
magisk_patched.img. - Type the following and hit enter:
fastboot flash boot magisk_patched_filename.img - Once the flashing process is complete, reboot your device using this command:
fastboot reboot
Your device must now be rooted with Magisk.
Method 2: Install Magisk through TWRP Recovery
You can directly flash Magisk using TWRP or similar recoveries. You must have TWRP installed before this process.
Step 1: Download the Magisk Zip File
- Download from latest Magisk apk and rename apk to zip.
- Move the downloaded Magisk zip file to the device’s internal storage or SD card.
Step 2: Flash Magisk using TWRP
- Boot into TWRP Recovery
- Power off your device.
- Press the key combination for your particular device to enter recovery mode (Power + Volume Up).
- In TWRP, tap on Install.
- Go back and select where you put the Magisk.zip, select it, and swipe to confirm flash.
Step 3: Reboot/Reboot your Device
Once installation is complete, click on Reboot System to restart your device. Your phone will now be rooted with Magisk, and you will then be able to control root access and access Magisk modules within the Magisk Manager application.
But installing Magisk is quite simple and unlocks an immense way to modify and optimize your Android device. Magisk offers the same kind of reliable root access, whether you find it more straightforward using the patched boot image method or easier using the flashable ZIP method through TWRP, all done while keeping your system untouched. Just ensure that you closely follow the procedures involved and back up all your data before attempting any system modification to avoid possible data loss. Happy modding!


 Emir Bardakçı


